Consistency is important! Don’t agree with me? Have you ever eaten a bowl of runny scrambled eggs? Or poured yourself a nice tall glass of lumpy milk? Gross!
Ok…we’re not talking about the consistency or mouthfeel of food (which most definitely matters!). Instead, we’re talking about why it’s important for a photographer who outsources photo editing to be consistent – to be the same – from image to image and from catalog to catalog. Like your favorite restaurant, a great photographer will exactly what you expect every time. As photo editors, we love and appreciate our clients whose work always seems to be the same, no matter the situation or time of year!
So what does it take to be consistent? Luckily, it isn’t too difficult. Here are 3 things you can do to achieve a consistent look for your images – and be a rock star for your editor!
1. Nail it “In Camera”
Wouldn’t it be great if you snapped some pics, put them on your computer, and realized that you don’t have to make any adjustments? Heaven! While this might not be possible for every picture, setting up your camera for a specific look you want to achieve really helps once you begin processing the images. If your style is bright and airy, then make sure your camera is set up to make your images bright. And if you like your images to be more dark and moody, then make sure your camera is set to shoot a little darker. In the midst of a shoot, setting your camera does take some time, but as you get familiar with what your camera can do in different light, you’ll be able to set it quickly. And taking the time to set up your camera before you shoot will help so much when it comes to editing!
2. Stick to 1 or 2 Presets
Speaking of editing, have you ever used presets to help you edit? Presets apply the same adjustments to each image, which can be really helpful for getting that look that you love. But, if you LOVE alllll the presets and use a bunch of them, then there’s still the issue of consistency. Sure, all of the images look amazing, but if they look different from one another, then that lack of continuity might be confusing to clients – and maybe even your editor. We’ve found that our best clients use just one preset, and maybe two…one for color and one for black and whites.
Now, I’m not saying that you should go out and buy presets. If there’s one out there that helps you get the look you want, then by all means use that! You can also create your own presets. What adjustments do you typically make to an image? Add that to your preset. Then you can share them with your editor (who would be happy to help you develop a preset if you’re having trouble) and you both can get your style super dialed in from image to image and catalog to catalog!
3. Make Sure Your Pre Edits are Similar to One Another
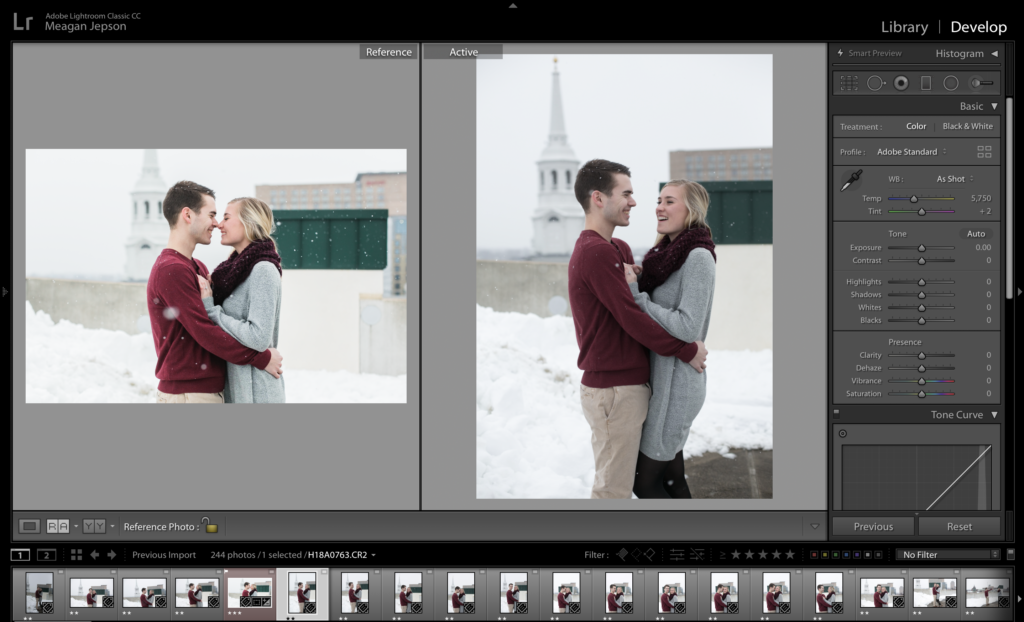
Ok…please don’t confuse presets with pre edits. Pre edits are images the photographer edits before she (or he) sends them off to the editor. Often called anchor images, these pre edits are super helpful for your editor because they take out a lot of guesswork when it comes to getting the look you’re going for. Even the best editors aren’t mind readers, so pre edits really help with consistency.
But if the pre edits look different from one another, then editing the catalog in reference to the anchor images is challenging. “Should I edit the image like this one, or like that one?” Facing dilemmas like these not only takes time for the editor, but it could also result in some disappointment for the photographer. Making sure that every image you edit is similar before you ship the catalog off to your editor will make everything run more smoothly.
And there you have it! Three simple things that don’t take up much time or effort, but have a huge positive impact on both the photographer and the editor. Make a note to turn these ideas into habits, and POOF! you just became a better, more consistent photographer without spending any extra time or money! Sweet!
Great and informative piece! You guys rock!
Woohoo! Thanks Alyssa! ❤️
[…] How to Outsource Photo Editing […]